- Name
- irodori
- Purpose
- Compact device with optical sensing and wireless communication
- Features
- Wi-Fi / Bluetooth supportedReplaceable lithium-ion battery
Part 1
irodori Device
How to operate the device, full product specifications and information about included accessories.
How to Use
Easy! How to use irodori
A simple workflow that anyone can use right away
On the device
- 01
Power on
Turn the device on and hold it over the target object.
- 02
Start measurement
Press the button to start measurement (about 2 seconds).
- 03
Check the result
View a simple result on the device screen.
Specifications
Product Specifications
Detailed technical specifications of irodori
- Light source
- 405 nm UV LED5700 K White LED875 nm IR LED
- Sensitivity
- 28.6 nW / cm²
- Aperture
- 21 mm
- Wi-Fi
- 2.4 GHz band (IEEE 802.11 b/g/n)
- Bluetooth
- Ver. 5.2 Low Energy (LE)
- Dimensions
- 49 (W) × 236 (H) × 56 (D) mm
- Weight
- Approx. 250 g
- Operating temperature
- -20 to +60°C※ Measurement correction range: 0 to 50°C (as of April 2026)※ Upper and lower temperature limits are constrained by the lithium-ion battery
- Humidity range
- 5–85%
- Battery
- 18650B lithium-ion (replaceable, rechargeable)
- Charging
- Remove the battery and charge with the included dedicated charger
About the lithium-ion battery
Product code: 18650 lithium-ion battery (Good Goods authentic product).
- PSE and CE (international safety) certified
- Multi-stage protection against overcharge, over-discharge and over-current
About the charger
Product code: CHG-2A (Good Goods authentic product).
- PSE certified
- Charges two batteries simultaneously, supports fast charging
- International voltage support — comfortable anywhere, anytime
Part 2
ANSWER Lite (Web App)
A dedicated platform to manage, visualize and AI-analyze hyperspectral data captured with irodori.
Open ANSWER Litelite.answer-app.comAbout
What is ANSWER Lite?
A hyperspectral data platform built for irodori
ANSWER Lite is a web application that lets non-engineers manage, visualize and apply AI models to spectral data collected with the irodori sensor — for food, agriculture, research and manufacturing teams.
Data Management
Upload CSVs directly. Organize with folders, tags and labels.
Visualize & Analyze
Spectrum, comparison, PCA, ANOVA and reference views in seconds.
AI Models
Apply trained models for classification and quality prediction in one click.
Multi-language
Japanese / English supported — switch from the globe icon in the header.
Quick Start
Get started in 3 steps
Sign in → upload data → analyze. That's all you need to begin.
- 01
Sign in
Open lite.answer-app.com and sign in with the email and password issued to you.
- 02
Add data
From the "Data" sidebar item, upload CSVs directly or import from your irodori device.
- 03
Visualize & analyze
Select your data and open "Analysis" — view spectra, run PCA and apply AI models seamlessly.
Screens
Screen-by-screen guide
Walk through every page with the actual UI.
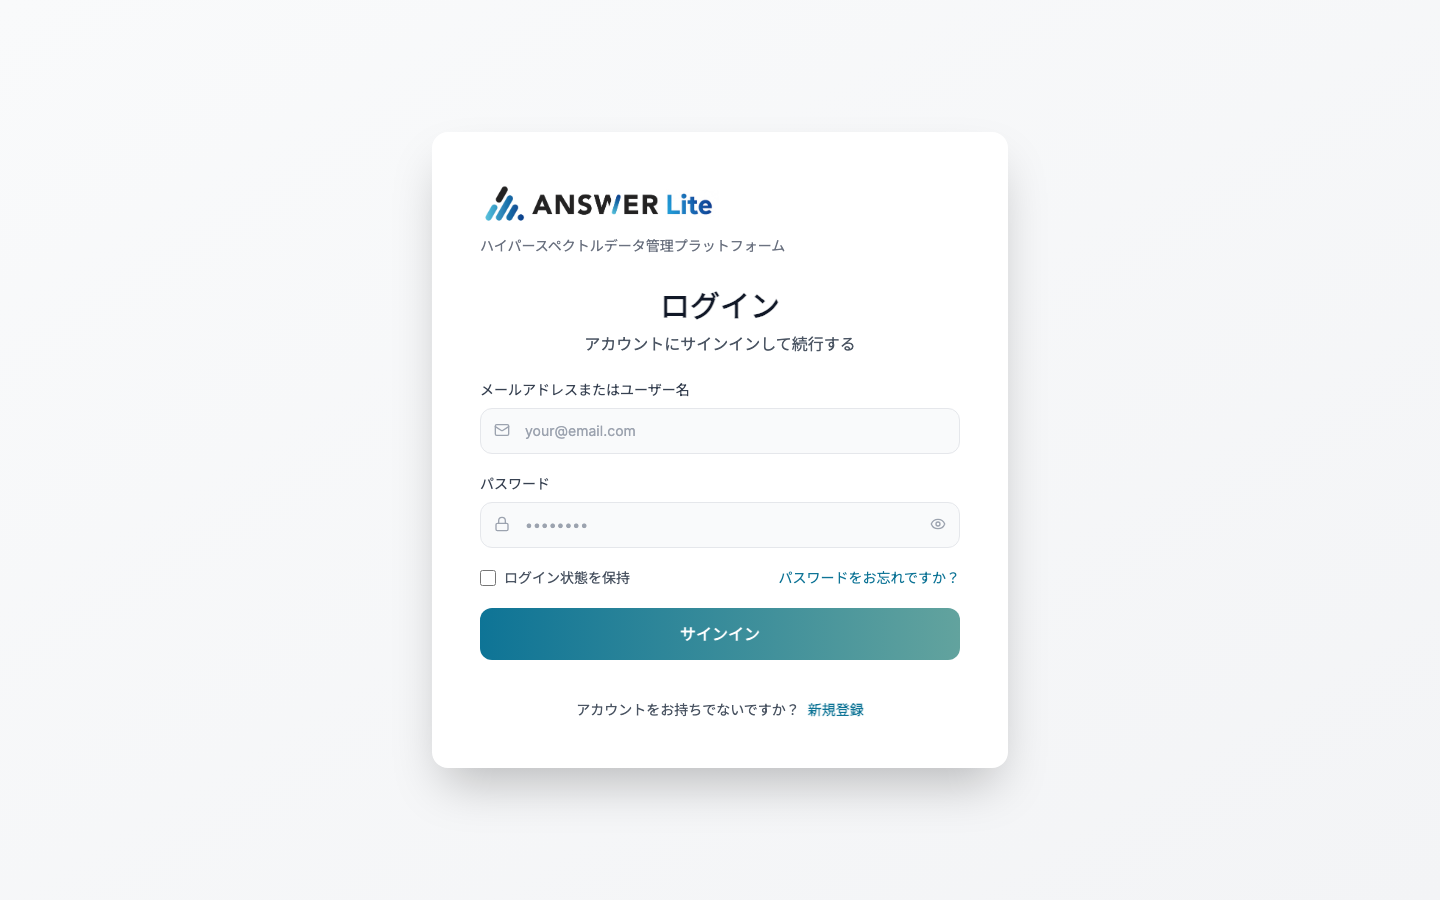
Login
Open lite.answer-app.com and sign in with your email (or username) and password.
- "Stay signed in" simplifies repeat access
- Reset your password from the link on this screen
- New accounts are issued by your administrator
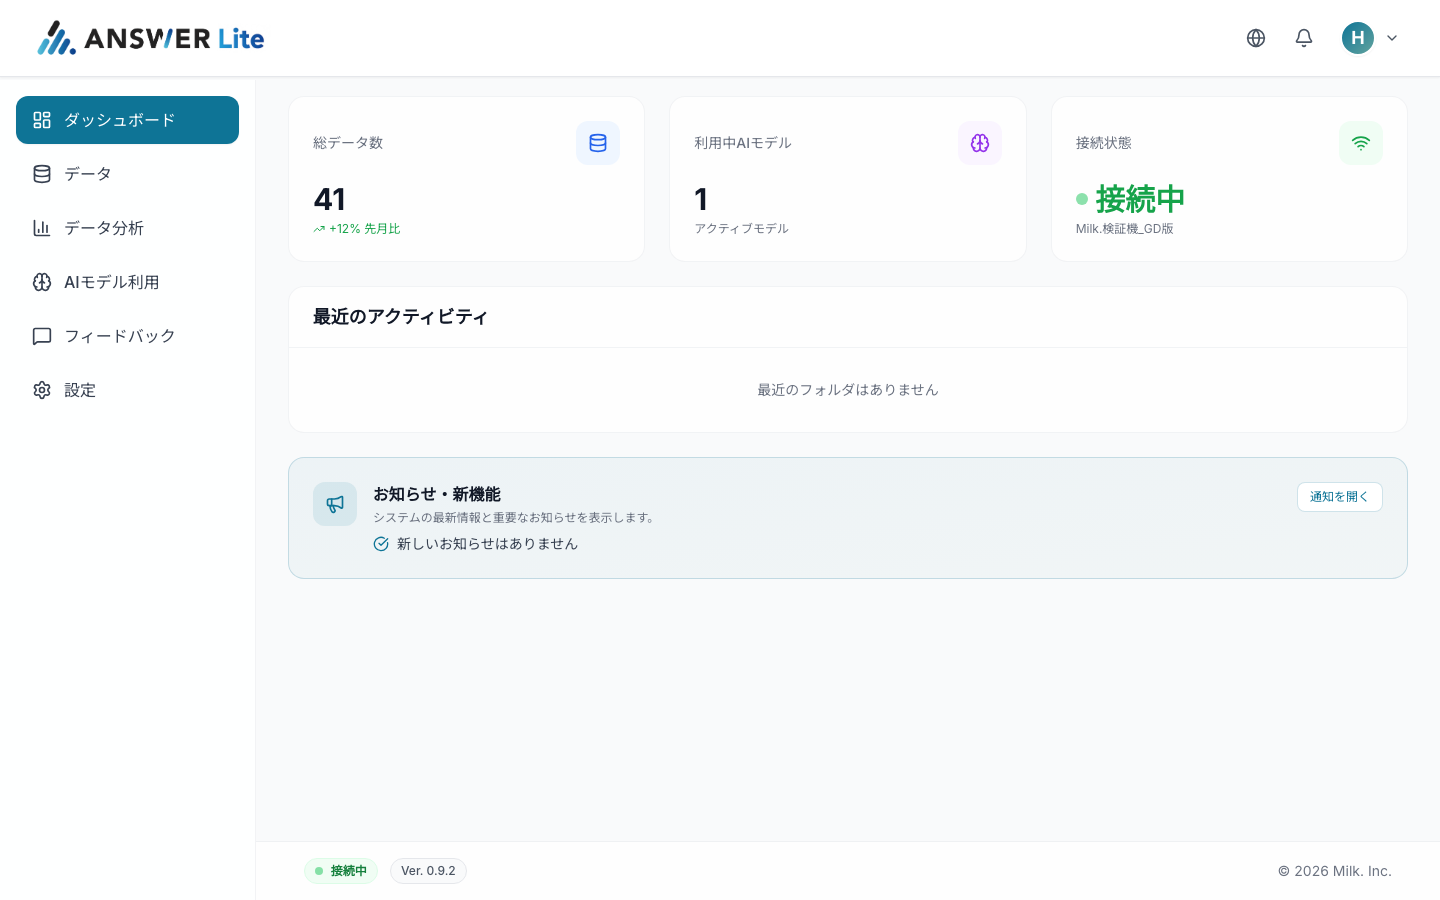
Dashboard
Your starting point after signing in. See total data count, active AI models and irodori connection at a glance.
- Three summary cards: Total Data, Active AI Models, Connection
- Recent activity (folder operations) shown chronologically
- In-app notifications for announcements and new features
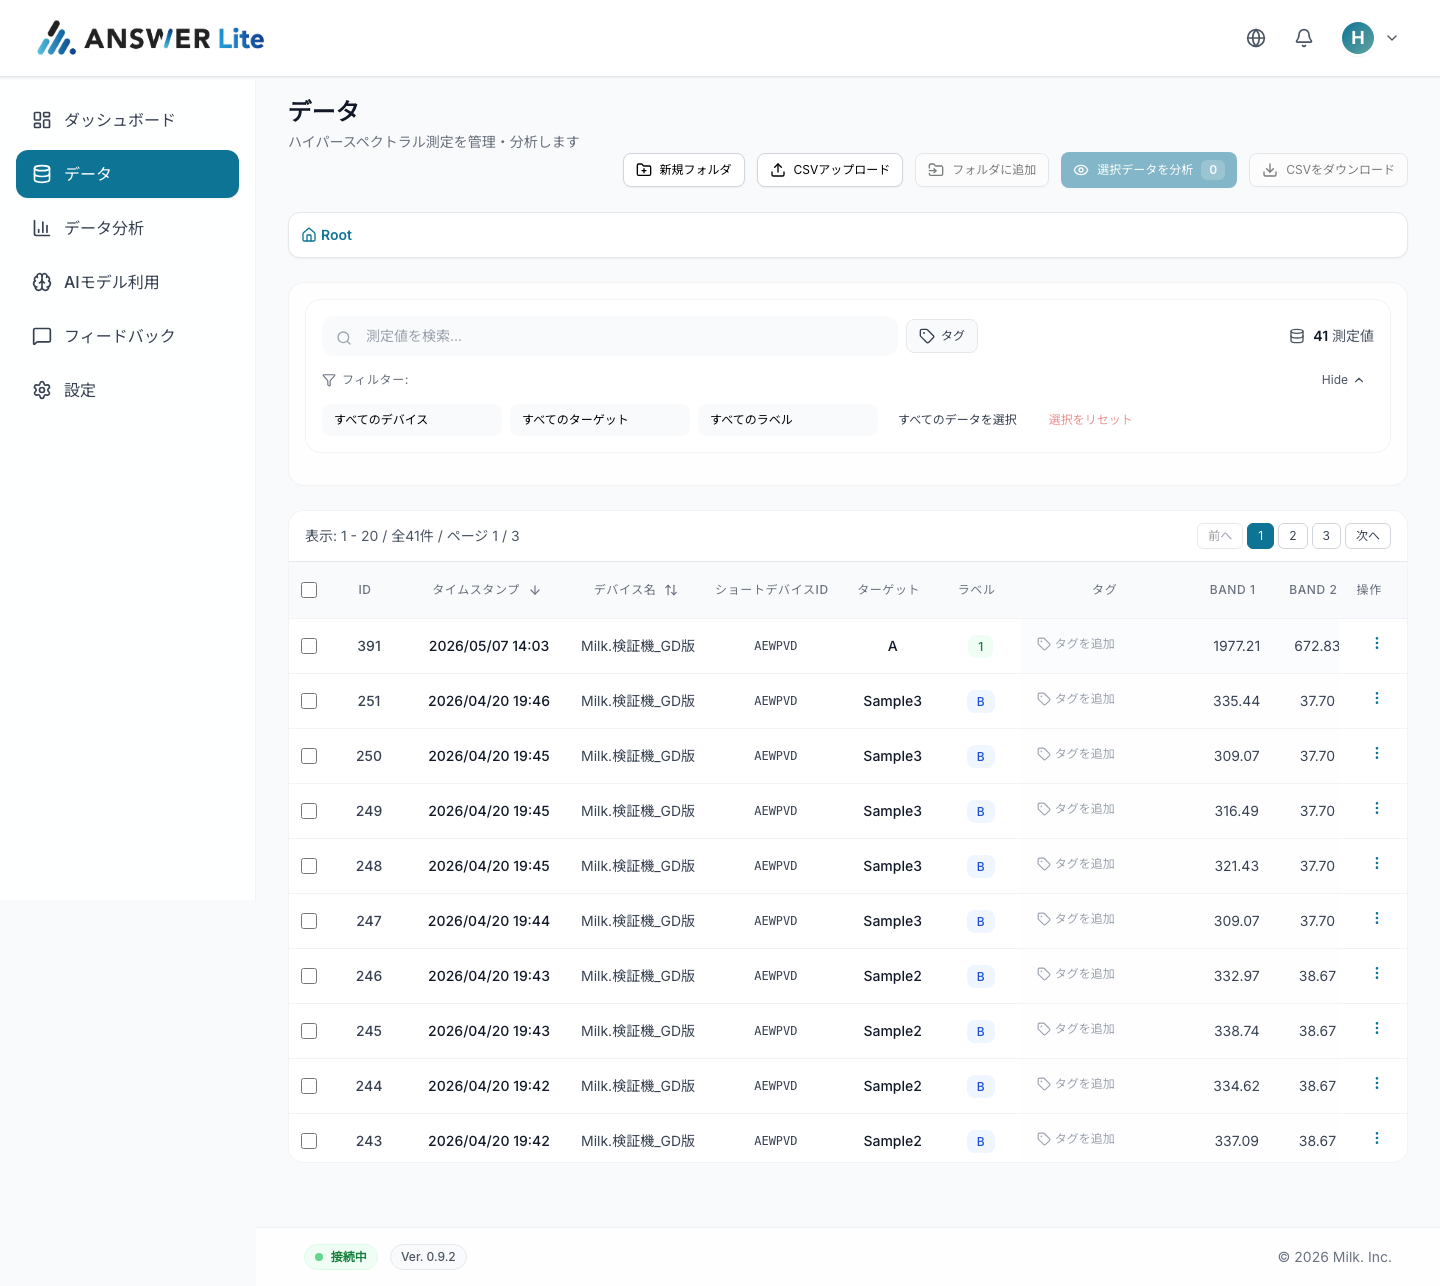
Data Management
Organize hyperspectral measurements from irodori using folders, tags and labels.
- New Folder / CSV upload / Add to folder for flexible categorization
- Filter by device, target or label — search updates in real time
- Send selected data straight to Analysis, or export as CSV
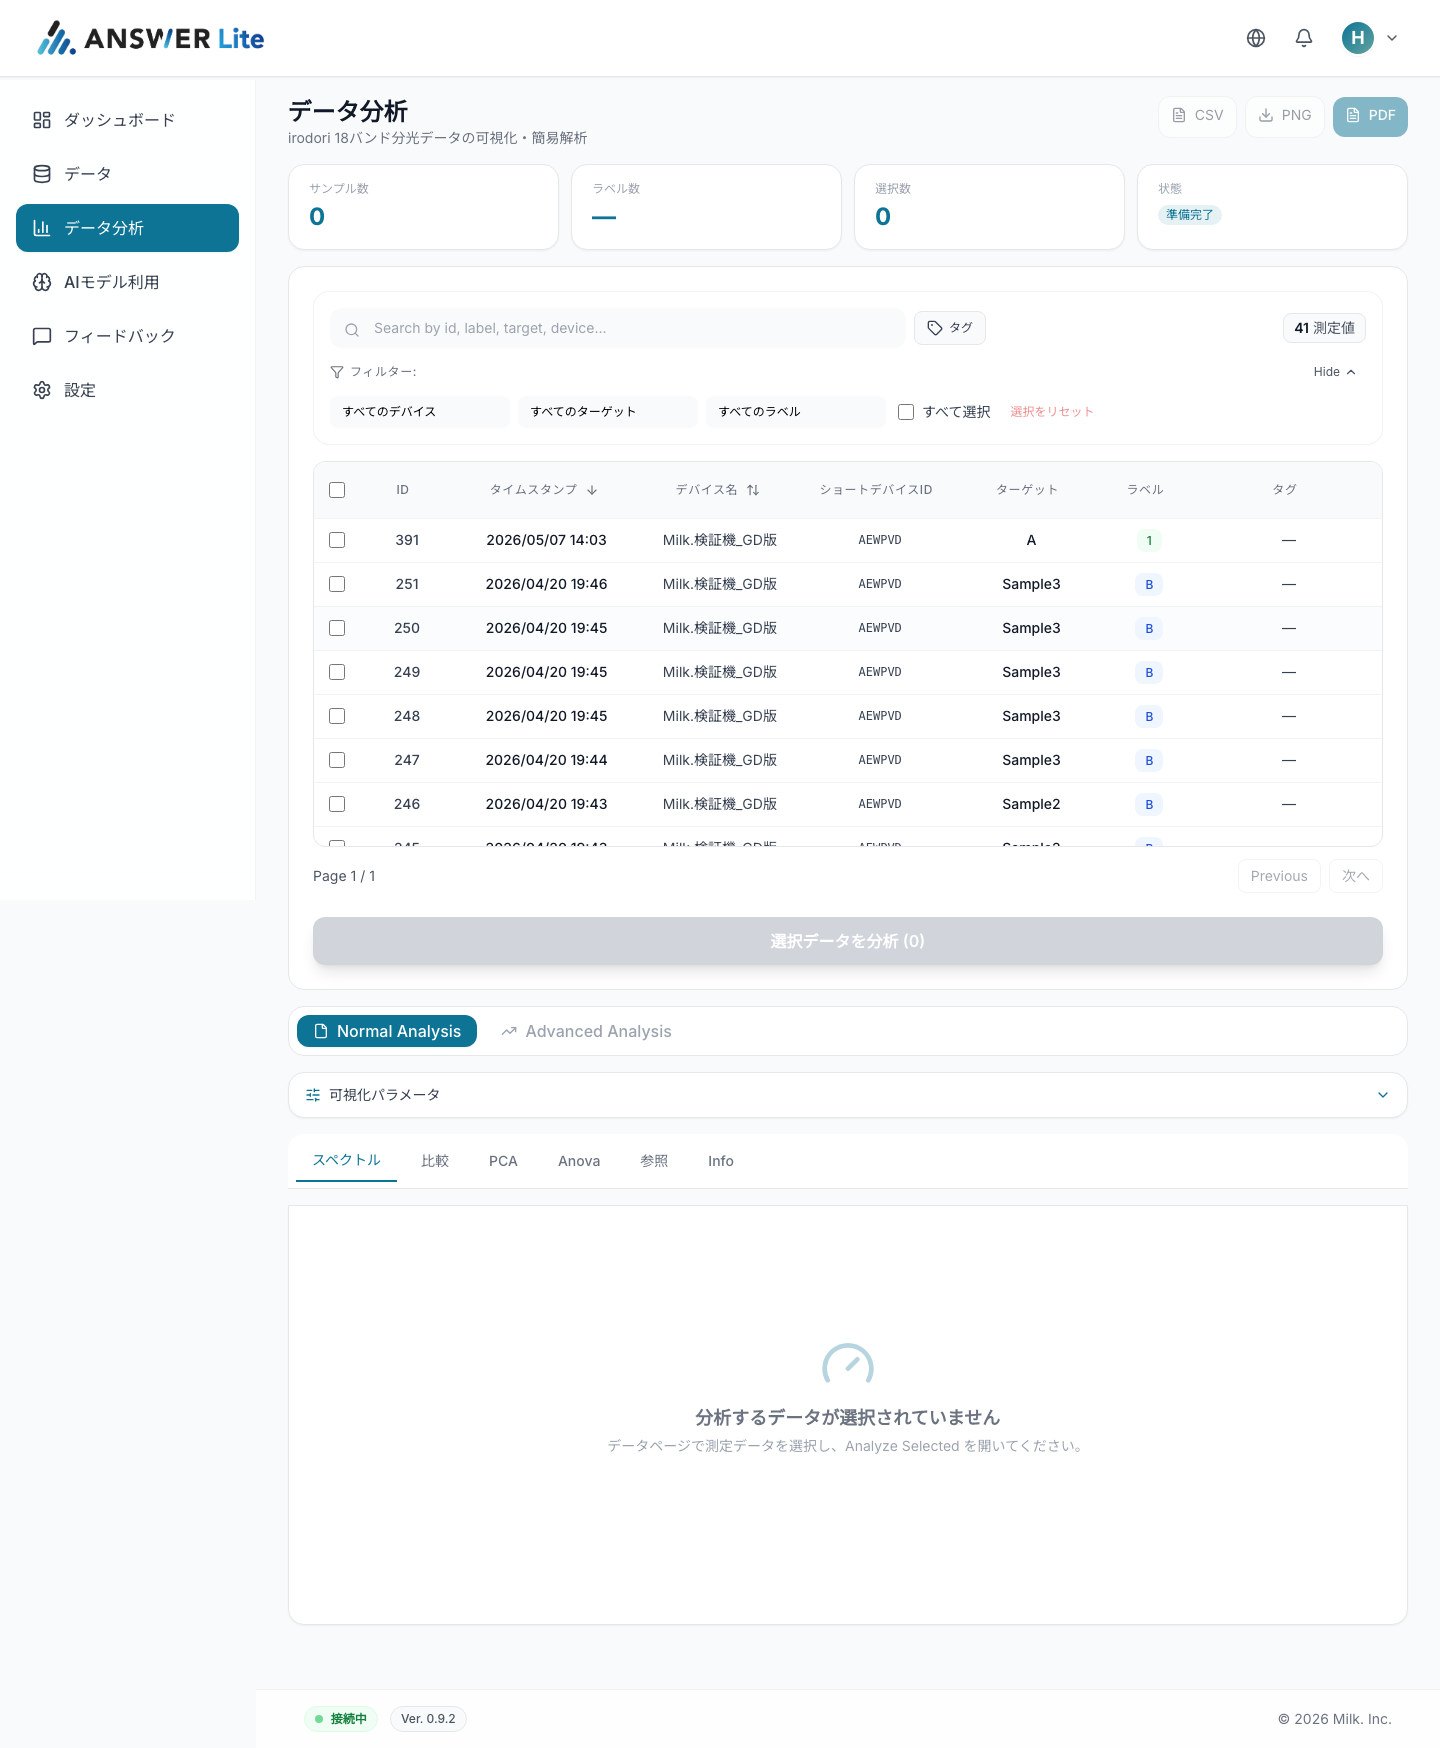
Analysis & Visualization
Visualize and analyze irodori's 18-band spectral data — no code required.
- Normal Analysis: switch between Spectrum / Compare / PCA / ANOVA / Reference
- Advanced Analysis: box plot, clustering, differential and detailed PCA
- Export results as CSV / PNG / PDF
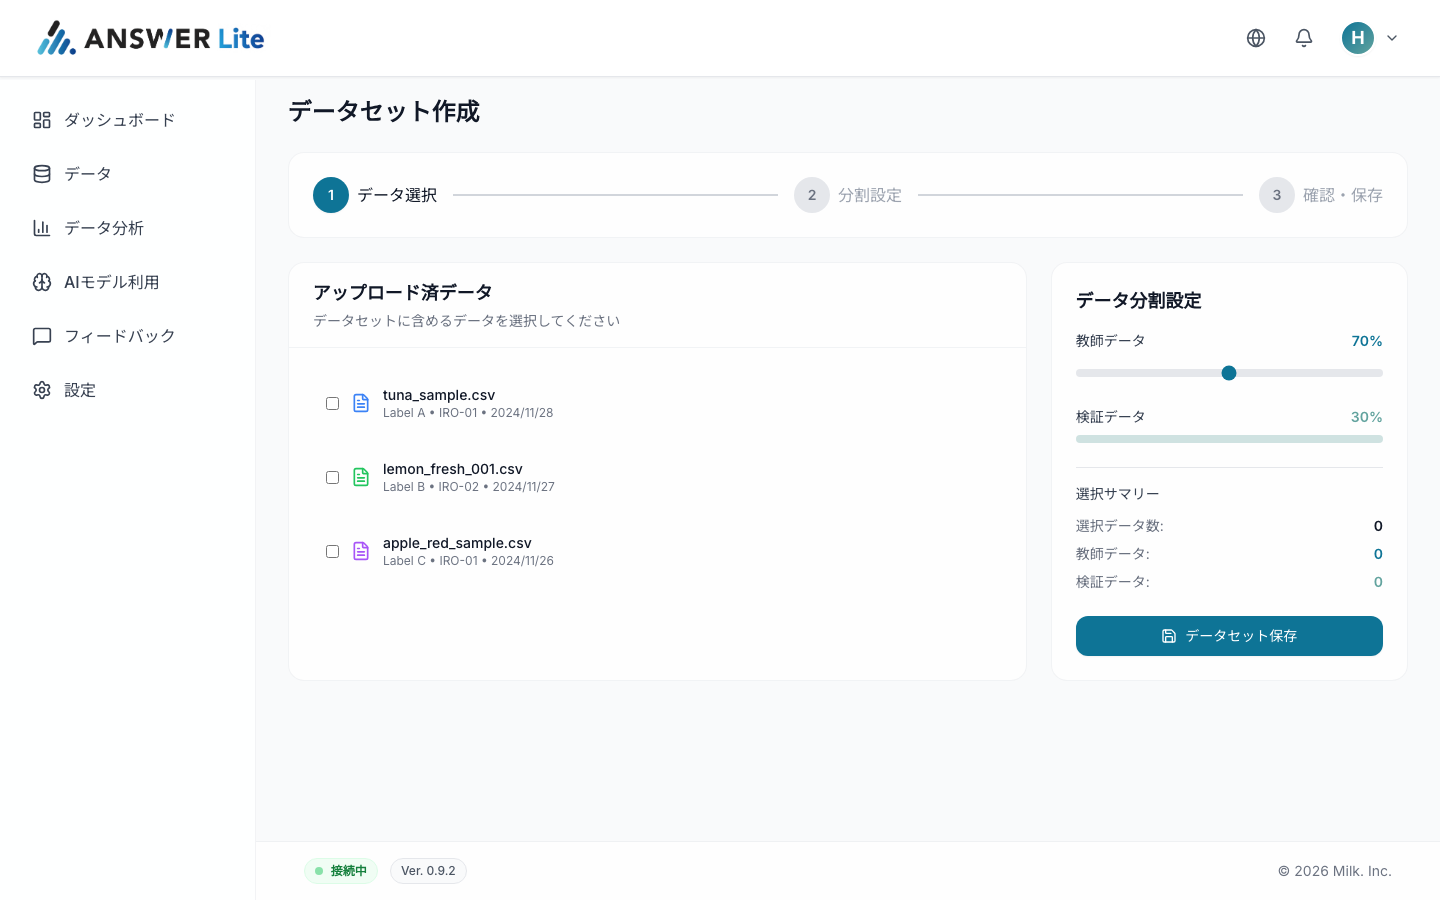
Dataset Creation
Build a dataset for AI model training in three steps.
- Step 1: Pick training samples from your uploaded data
- Step 2: Set the train / validation split with a slider
- Step 3: Review and save — your dataset is ready for model training
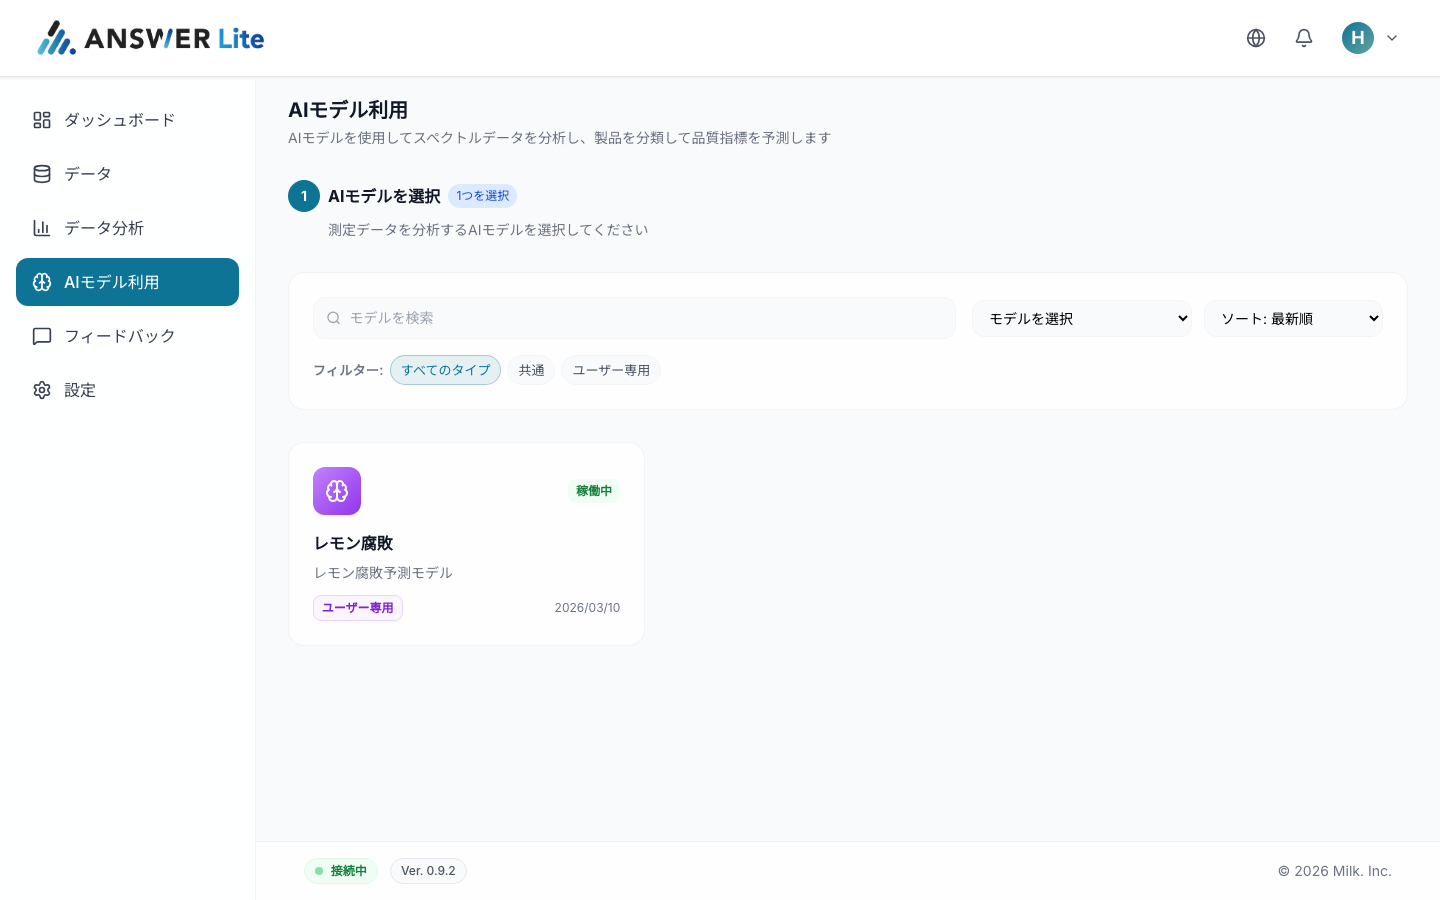
AI Model Use
Use trained AI models to classify spectra and predict quality indicators.
- Switch between "Common" and "User-only" models
- Pick from running models that match your use case
- Select model → apply data → review results in one flow
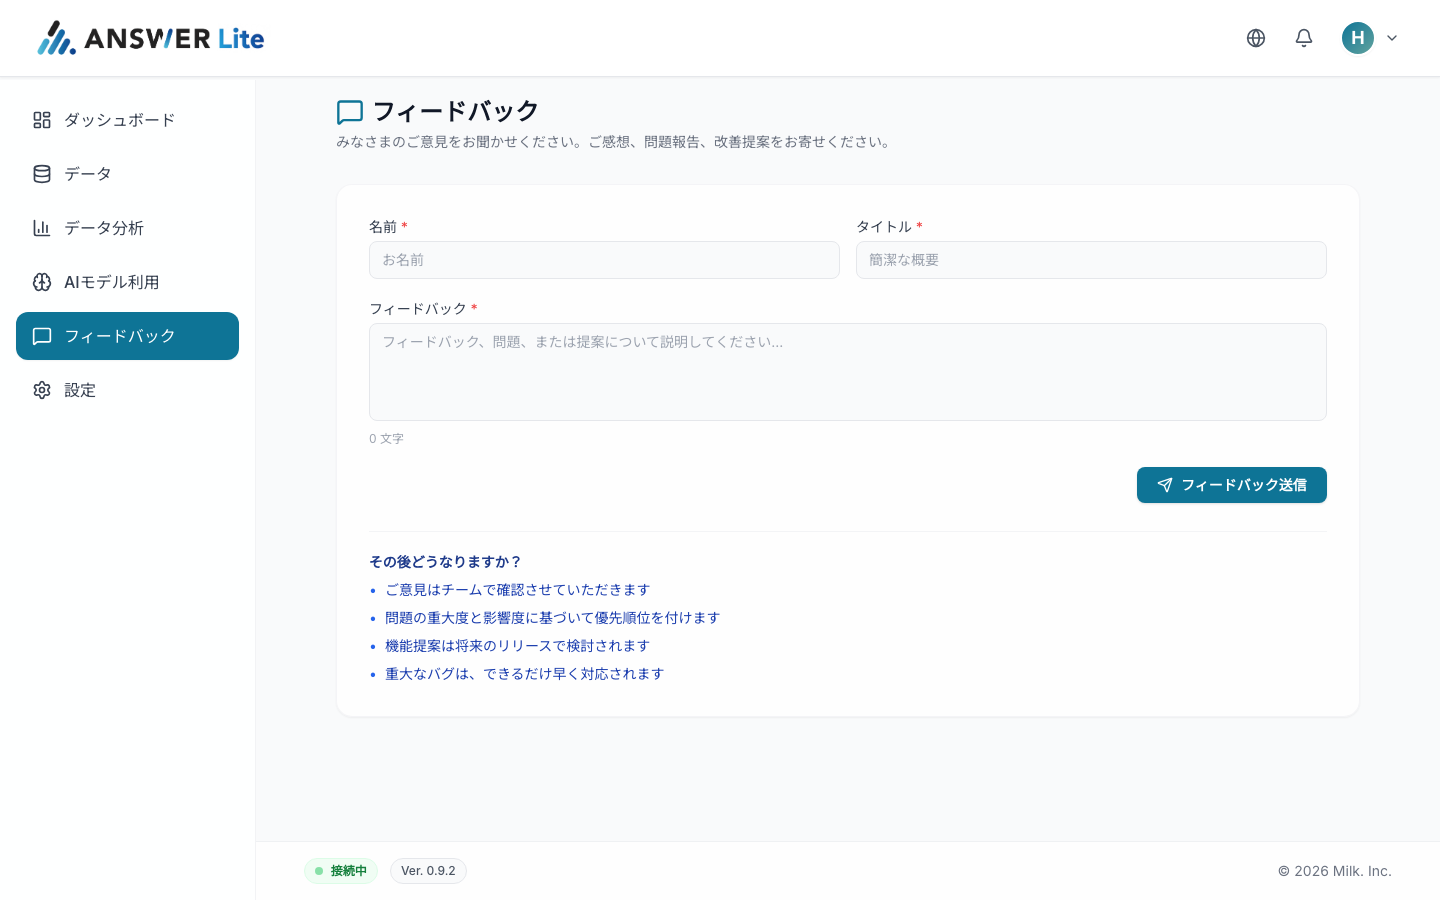
Feedback
Send impressions, bug reports and feature requests directly to the team.
- Enter name, title and message, then submit
- The team triages by priority and impact
- Feature requests are considered for upcoming releases; critical bugs are addressed quickly
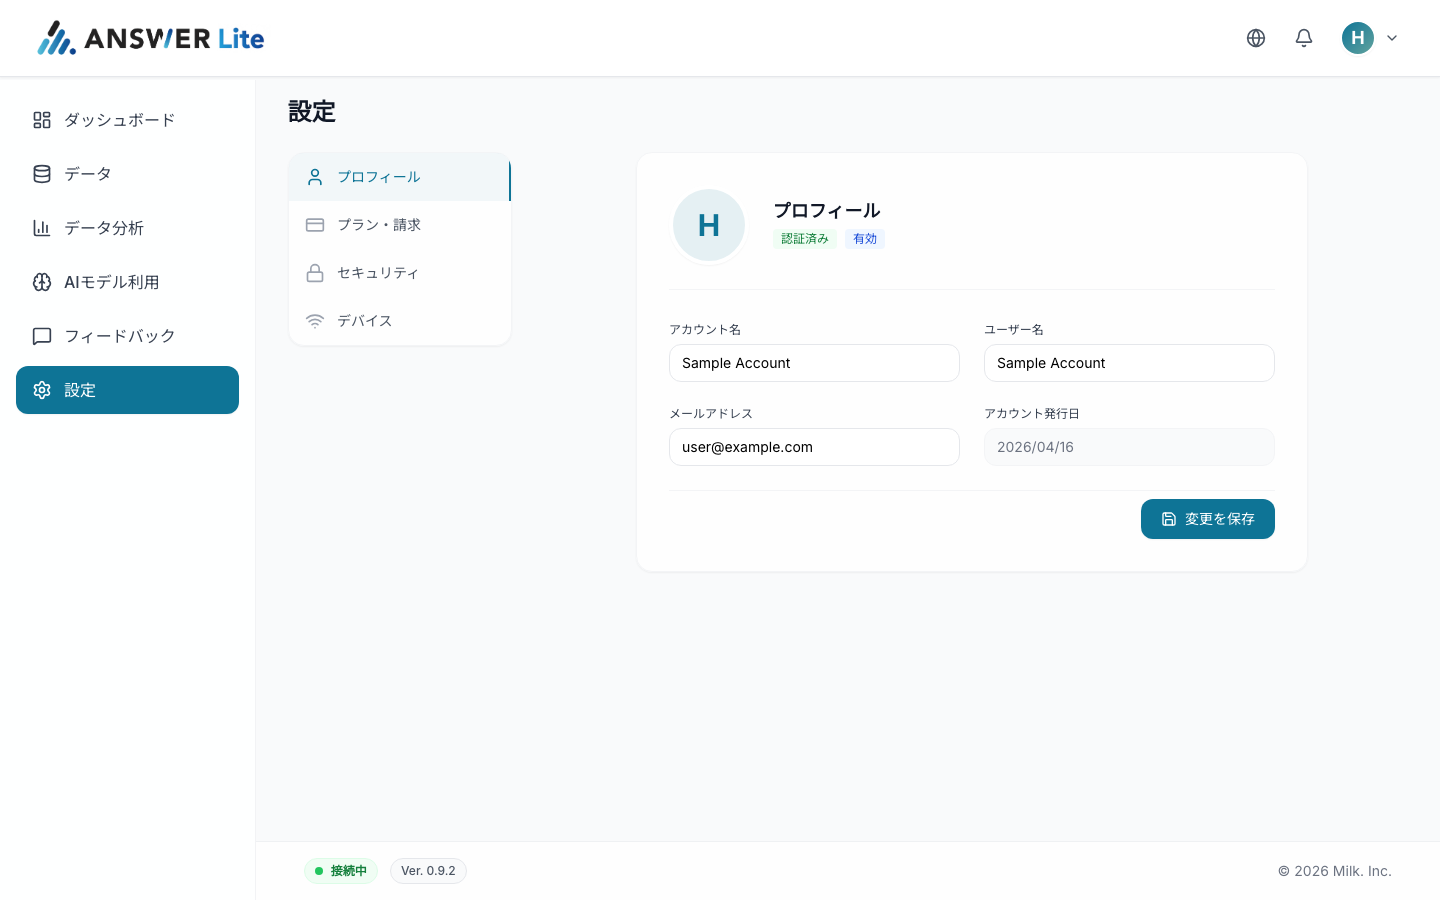
Settings
Manage account, plan, security and device settings in one place.
- Profile: account name, username and email
- Plan & Billing: review your subscription
- Security: change password / two-factor authentication
- Device: check connected irodori units
Notes
Things to know
A few pointers for safe and smooth use.
Account handling
Issue an account per member and never share credentials. Notify your administrator at offboarding.
Recommended browsers
Latest Google Chrome / Microsoft Edge / Safari. Older browsers may render incorrectly.
Versioning
The current version is shown in the footer. New features are announced from the dashboard.